Key Takeaways
A home charger can make everyday EV charging simpler, but the right setup depends on your car, your home and your routine. I’d check the practical details before buying equipment.
- Match the charger and connector to your vehicle and typical driving.
- Ask a licensed electrician to assess your home’s electrical capacity and proposed location.
- Check local approval requirements, utility rules and any current incentives.
- Compare installation quotes that describe the same work and equipment.
- Test the finished installation and inspect the cable and connector regularly.
Choose a home charger that fits your EV and routine
I find it easier to choose a charger after thinking about how the car is actually used, rather than shopping by a headline charging speed. A vehicle’s onboard charging capability, the power available at home and the hours it spends parked all matter. In Australia, people may use different terms for charging levels, so it’s worth checking the charger and car specifications rather than relying on a label alone. The useful question is whether the setup can comfortably replenish the driving I do between home charging sessions.
Level 1 vs. Level 2: How much charging speed do you need?
The Level 1 and Level 2 labels are common in some markets, but Australian home-charging options are often described by their electrical supply and charger capacity. A standard household outlet may suit modest, predictable driving, while a dedicated AC charger can provide a faster home setup if the vehicle and electrical installation support it. I’d compare the choices in terms of the time the car is parked and the energy it needs, not assume that the fastest option is automatically necessary. An electrician can confirm what the home can support.
| Home charging approach | What to check | May suit when |
|---|---|---|
| Household outlet | Vehicle guidance, outlet condition and circuit suitability | Driving and charging needs are modest |
| Dedicated AC charger | Vehicle’s AC charging capability and available supply | You want a more capable regular home setup |
| Higher-capacity AC installation | Electrical supply, charger settings and vehicle limits | The home and car can both make use of it |
| Public DC fast charging | Vehicle compatibility and charging access | You need charging away from home |
This comparison is a starting point, not a promise about charging time: the vehicle and home installation set real limits. I’d look at the car manual and ask an electrician to assess the supply before settling on a charger.
Check connector compatibility before you buy
The connector has to suit the car, and a charger’s plug or cable arrangement has to suit the intended installation. I check the vehicle handbook or manufacturer information first, then confirm the proposed charger is compatible with that exact model and charging method. A photo of the car’s charging inlet can help when discussing options, but it shouldn’t replace checking the official specifications. Getting this right before ordering avoids an expensive piece of equipment that doesn’t connect as expected.
Compare hardwired and plug-in chargers
A plug-in charger connects to a suitable installed outlet, while a hardwired charger is connected directly to the electrical installation. Neither is automatically the better choice: the decision depends on the equipment instructions, the site and what the electrician recommends. I’d ask what each option means for installation, ongoing access and any future replacement. The key is a setup that suits the site, not a connection type chosen from habit.
Look for smart features you’ll actually use
Smart functions vary by charger, so I’d check the product documentation rather than assume every model has the same controls. Scheduling may be useful if I want charging to happen at particular times; monitoring can help me see whether a session started or stopped. I’d also consider whether the app is straightforward enough to use when I’m tired and just want the car ready. Features that don’t fit my routine are unlikely to make the installation more worthwhile.
Check whether your home is ready for installation
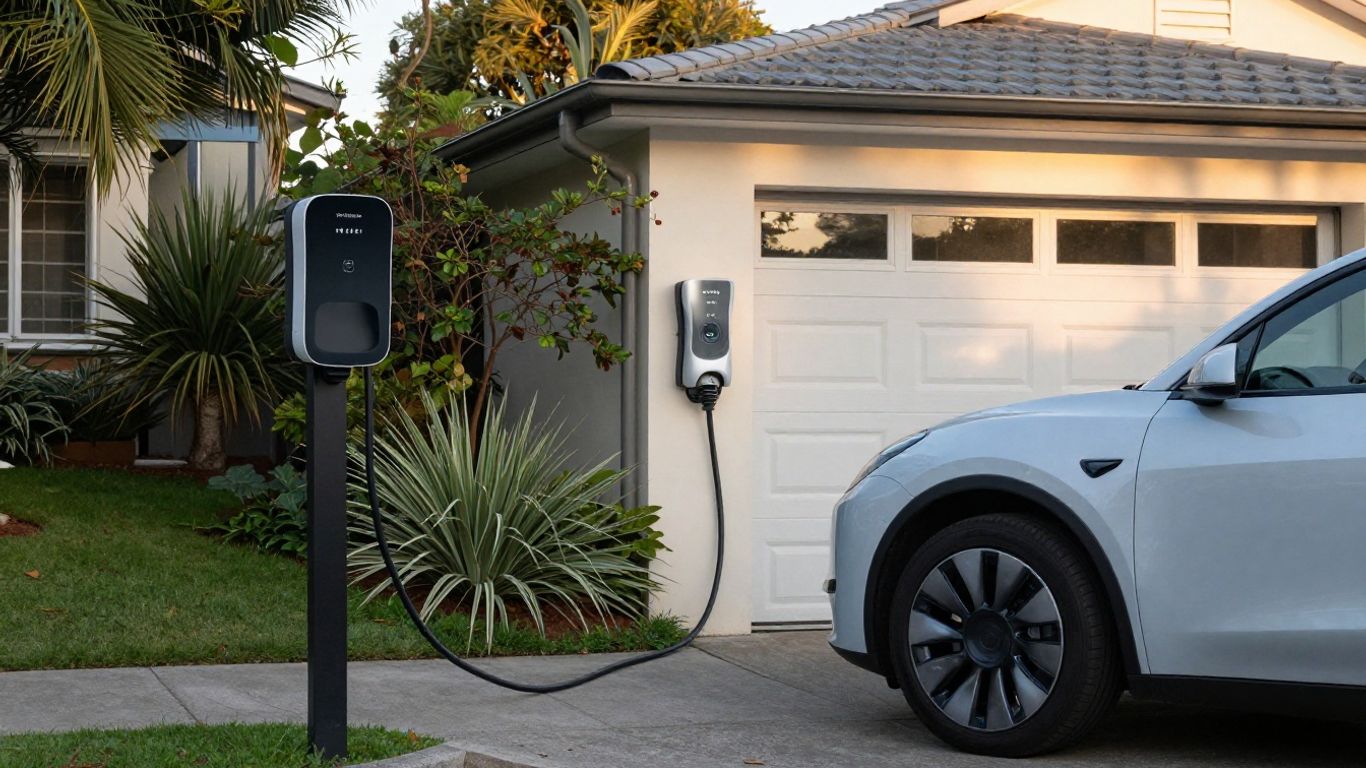
A charger is only one part of the job; the home’s wiring, electrical supply and physical layout shape what can safely be installed. I’d get the site assessed before buying equipment, especially if the switchboard is older or the proposed cable route is long. A neat location beside the car can still be awkward if it means extensive wiring or blocks access to other equipment. A short inspection can turn those unknowns into specific questions for the installer.
Assess your electrical panel’s capacity
The electrician needs to consider the home’s existing electrical supply and the other loads already connected to it. A charger’s stated capacity doesn’t mean the house can necessarily support it at full output. I wouldn’t try to judge capacity by looking at the switchboard alone; a qualified electrician can assess the installation and explain whether changes or a different charger setting are needed. That assessment also helps make the quote more realistic.
Consider older wiring and other electrical loads
Older wiring, previous alterations and appliances that draw substantial power can all affect the proposed work. I’d mention anything I know about past electrical issues, renovations or frequently used equipment, rather than leaving the electrician to discover it halfway through. The outcome may be a straightforward installation, or it may call for extra work to make the setup appropriate. Either way, knowing early is better than treating a surprise as a minor detail.
Decide where the charger should go
The best position is usually one that makes the cable easy to reach without creating a trip hazard or obstructing a doorway. I’d consider where the car’s charging inlet sits, which side of the parking space it faces and whether the cable can be stored neatly when it’s not in use. It’s also worth thinking about access to the switchboard and the route the installer would need to take. A little planning can make an everyday task feel pleasantly uneventful.
Plan for outdoor exposure and cable reach
For an outdoor location, check that the proposed equipment is suitable for the conditions where it will be installed, and follow its installation instructions. I’d measure the likely cable path with the car parked in its usual spot, allowing enough reach without stretching the cable across a walkway. Sun, rain and the risk of accidental knocks are practical factors to raise with the electrician. A tidy route is safer and less likely to become a daily annoyance.
Navigate permits, codes, and installation requirements
Installation requirements can depend on where the home is, what work is involved and whether the property is shared or rented. I treat approval and paperwork as part of the project, not a detail to chase after the charger is on the wall. Rules and processes can change, so I’d confirm current requirements with the relevant local authority, utility and electrician. That way, the installation plan starts with the right local information.
Find out which permits your local authority requires
Before work begins, I’d ask the electrician which approvals or inspections apply to the proposed installation at my address. Requirements can differ between local areas and may depend on the scope of electrical work. I’d also ask who is responsible for arranging any required paperwork and keeping records. If anything is unclear, checking directly with the relevant authority is safer than relying on a neighbour’s experience from a different project.
Check utility rules and available rebates
The electricity distributor or retailer may have information relevant to a new charging load, and incentive programs can have eligibility conditions or closing dates. I’d check current details directly with the utility and the organisation running any rebate before making a purchase. It’s sensible to keep product and installation documents, since an application may ask for them. I wouldn’t build a budget around an incentive until I’d confirmed that the offer applies to my circumstances and chosen equipment.
Understand when a licensed electrician is needed
Electrical installation work in Australia is regulated, and a licensed electrician is the appropriate person to assess and carry out the work. I’d verify the electrician’s licence for the state or territory and ask what documentation I’ll receive when the installation is complete. A retailer’s installation offer doesn’t remove the need to understand who will do the electrical work. Clear responsibility makes it easier to know whom to contact if a question comes up later.
Confirm requirements for shared garages and rental homes
If I were renting, I’d get the owner’s written permission before arranging fixed electrical work. In an apartment or shared garage, the owners corporation, strata manager or building manager may also need to approve the location, wiring route or use of common property. I’d ask who pays for electricity and how access will work before committing to equipment. Getting the relevant people involved early can prevent a good technical plan from running into a building-management wall.
Plan the installation with a qualified electrician
Once I know what I want the charger to do, an electrician can assess the site and explain what installation would involve. I’d share the car details, preferred charger, parking position and any known constraints before asking for a quote. That conversation should cover both the electrical work and the practical route from the switchboard to the charger. The clearer the brief, the easier it is to compare proposals on a like-for-like basis.
Get an estimate based on your home’s setup
A useful estimate reflects the actual home, not just a standard installation description. I’d ask the electrician to inspect the switchboard and proposed charger location, then describe the cable route and any likely additional work. If an in-person visit isn’t possible at first, photos and clear measurements can help with an initial discussion, but the final scope should still be confirmed. I want to know what is included, what could change the price and how variations will be approved.
Choose between a dedicated outlet and a hardwired connection
A dedicated outlet and a hardwired charger involve different equipment and installation details. The charger instructions and the electrician’s assessment should guide which arrangement is suitable for the specific site. I’d ask how the choice affects the proposed charger, any future replacement and the work required at the switchboard. The answer should be specific to my home rather than a blanket claim that one method is always simpler.
Prepare the installation area and access to the panel
A clear work area makes it easier for the electrician to inspect and install the equipment. Before the appointment, I’d move stored items away from the proposed charger position and make sure the switchboard is accessible. It helps to have the car nearby if the installer needs to confirm cable reach, and to point out any concerns about walls, gates or parking. A few minutes of preparation can save the awkward dance around boxes and bikes.
Know what to expect on installation day
Before work starts, I’d confirm the agreed scope, the equipment being installed and whether power interruptions are expected. It’s useful to have the product instructions and any approvals available, and to ask how the electrician will demonstrate the finished installation. To keep the appointment straightforward, I’d have these details ready:
- The vehicle make, model and charging information.
- The charger model and its installation instructions, if already selected.
- Any approval or building-access details that apply to the property.
- Notes about the preferred parking position and cable route.
After the work, I’d ask for the required installation documentation and a brief explanation of normal operation. Knowing what the indicators mean is more useful than trying to decipher them during the first late-night charging session.
Budget for the charger and the work
The total cost depends on the charger, the work needed at the property and any changes required to the electrical installation. I’d separate equipment from labour in my notes so a quote is easier to understand. There may also be approval fees or other project costs, depending on the site and local requirements. A little comparison is worthwhile, provided each quote describes the same job.
Account for equipment, labor, and electrical upgrades
I’d list the charger and any required accessories separately from installation labour and possible electrical upgrades. The electrician can clarify whether the quote includes the cable route, mounting, testing and documentation, or whether some items are excluded. A panel or supply upgrade, if needed, is a separate consideration from the charger itself. This breakdown helps me see what I’m paying for without pretending every home has the same installation cost.
Understand what can make installation costs rise
A longer or more complicated cable route, difficult access, additional electrical work or a change to the proposed location can affect the scope. The condition of existing wiring and the available capacity may also influence what needs doing. I’d ask for likely variables to be explained before accepting a quote, and agree how extra work will be discussed. A clear process is more reassuring than a suspiciously tidy price with no description behind it.
Check for tax credits, utility incentives, and local rebates
Incentives and tax treatment can vary by location, eligibility and time, so I’d verify current information with the relevant government body, utility or program administrator. I’d check whether the offer covers the charger, installation or both, and whether approval is needed before work begins. Keep receipts and installation records if the program requires them. I treat possible support as something to confirm, not money already in my pocket.
Compare quotes without letting the lowest number drive
A low quote can be good value, but only if it covers a comparable scope and the work is clearly described. I’d check that each proposal identifies the charger or connection approach, cable route, included testing and any exclusions. If one estimate differs sharply, I’d ask what explains the difference rather than guessing. The aim is to compare the full job, not just the most appealing number at the bottom of the page.
Test your charger and keep it working reliably
Once the installation is complete, I’d give it a careful first run and make sure I understand the basic controls. The electrician should be able to explain how to start and stop a session and what the charger’s indicators mean. I’d keep the documentation somewhere easy to find, along with details of the installer. A little attention after installation helps me spot a problem before it becomes a recurring mystery.
Confirm charging speed and safety after installation
I’d connect the car as instructed and check that charging starts normally, then compare the displayed charging information with the vehicle and charger guidance. Actual charging can vary with the car, its settings and conditions, so one session may not tell the whole story. If there’s an unusual smell, visible damage, repeated interruption or unexpected heat, I’d stop using the equipment and contact a qualified electrician or the charger’s support channel. No amount of optimism improves a suspect electrical connection.
Set up schedules and notifications in the charger app
If the charger has an app, I’d follow its setup instructions and check which schedules or notifications it actually supports. I’d also make sure any vehicle-side charging schedule won’t conflict with the charger settings. A simple test notification can confirm that alerts are reaching the right device. Once it works, I’d keep the settings uncomplicated enough that I can still understand them months later.
Inspect cables and connectors for wear
I’d occasionally look over the cable, plug and vehicle connector for cracks, fraying, dirt or other visible damage. The cable should be stored as the manufacturer directs and kept away from places where it can be driven over or sharply bent. I’d avoid using damaged equipment and ask the manufacturer or a qualified electrician what to do next. Regular visual checks are quick, and they’re easier than discovering a problem when I’m already late.
Troubleshoot common charging hiccups
If charging doesn’t start, I’d first check that the connector is fully seated and that the car and charger schedules aren’t preventing a session. I’d look at the charger’s indicator or app for an error message, then follow the manufacturer’s troubleshooting instructions. If the issue keeps returning, I’d note what happened and when, and contact the installer or charger support rather than opening electrical equipment myself. A home charger installation guide can make the process feel manageable, but it doesn’t turn switchboard work into a do-it-yourself project.